Horizon war's
First Solo play through
I have been really enjoying thinking about this rule set during my recent holiday.
So much so I set to work last night on some new 6mm deliveries to get them ready for the table top

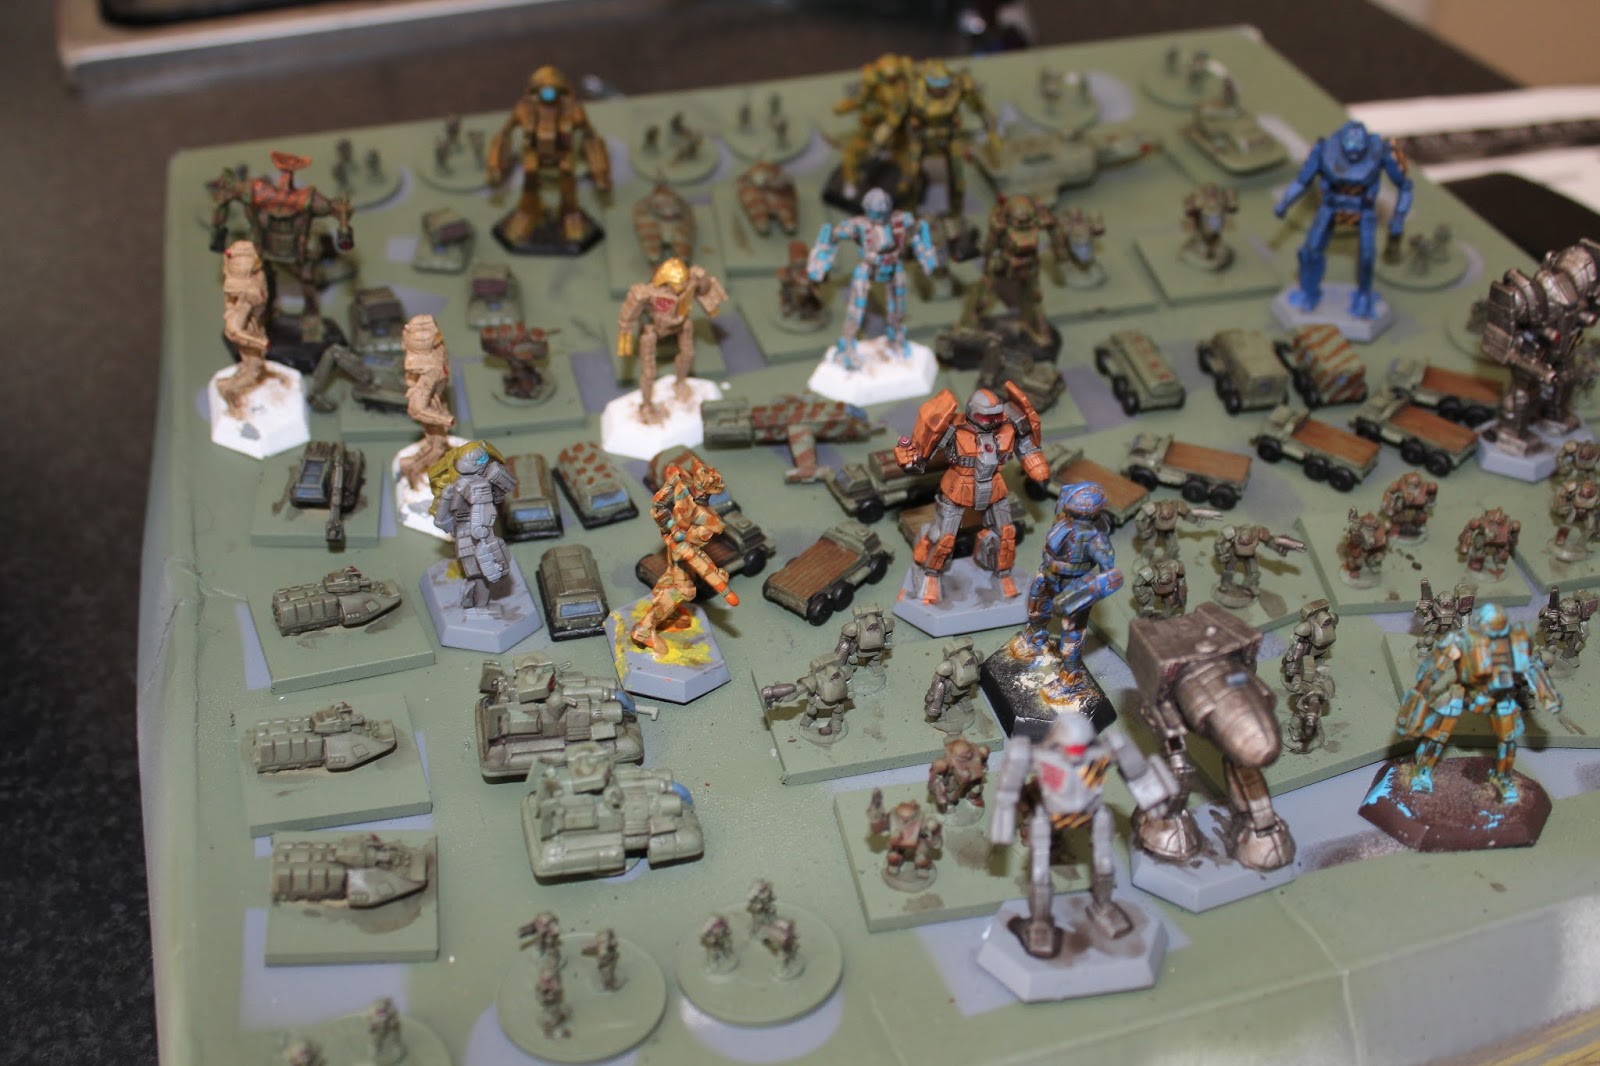

No basing done but not bad for one evenings work!
I of course realise that I have WAY more than I will ever get on the table in all but the biggest of multiplayer games. (but so what who doesn't :-) )
I played a 25 presence a side battle which took about 2 hours for three turns.
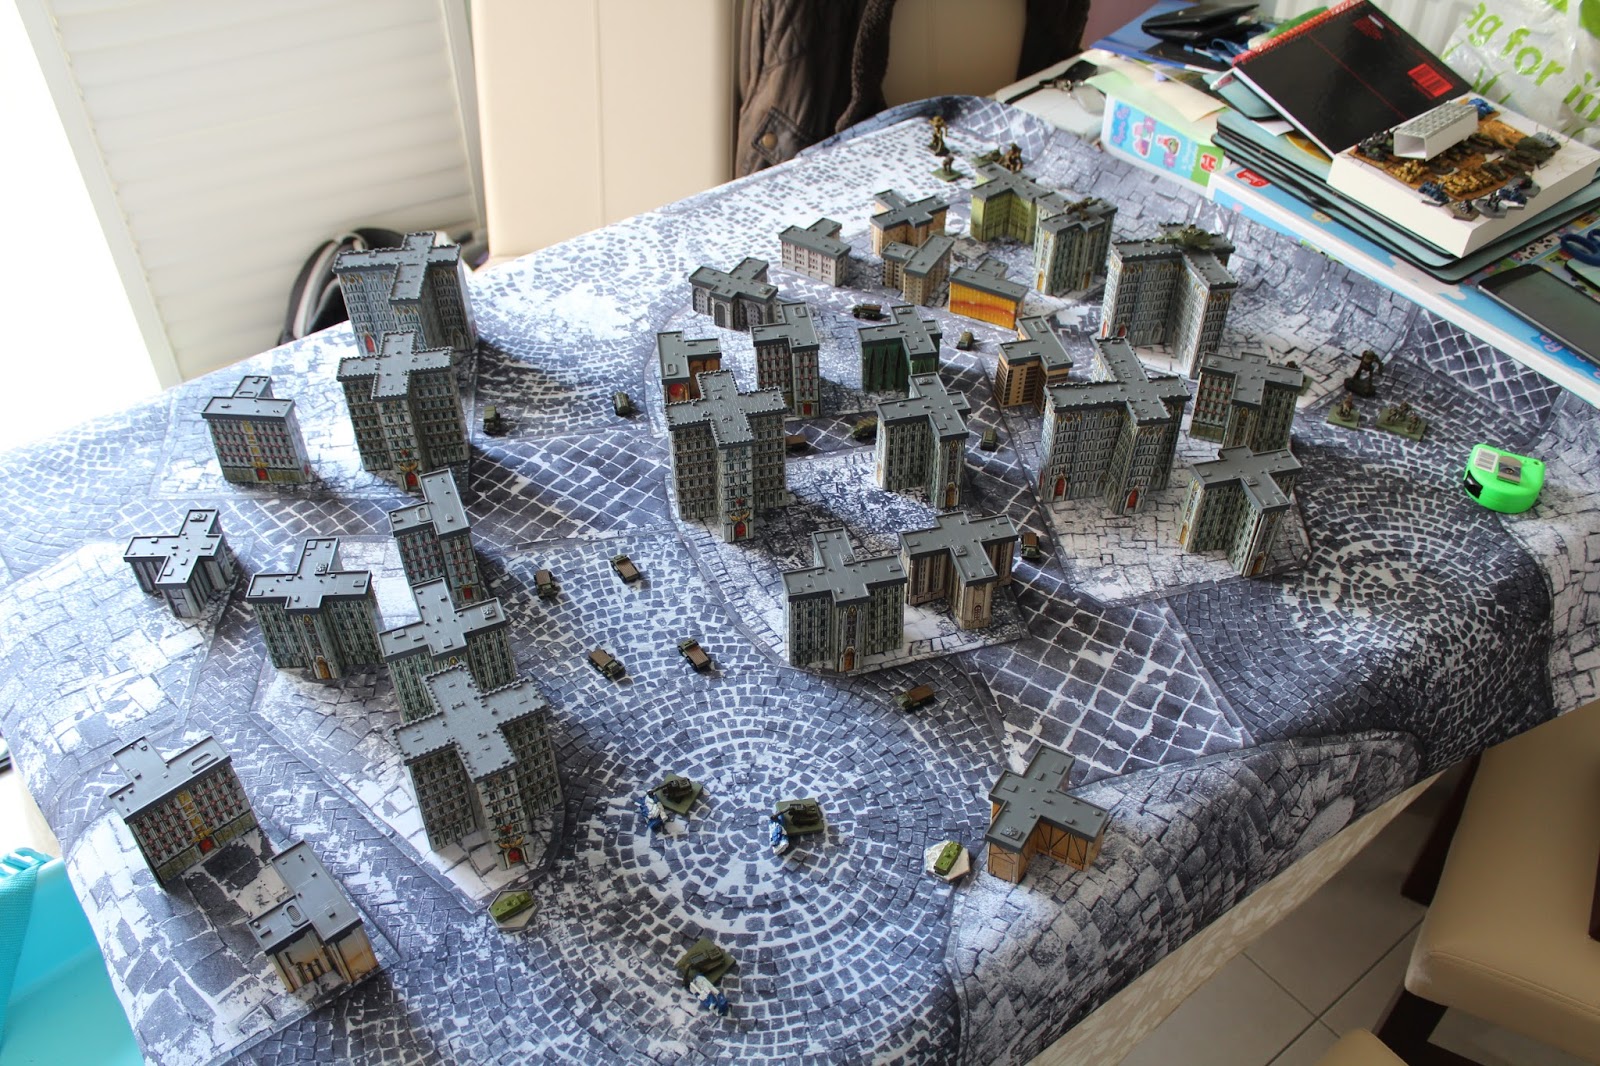
It was an urban terrain heavy setting which would have slowed it somewhat along with it being my first time of actually playing.
I managed fairly well and didn't need to refer to the Rule book at all and only the QRS twice to remind myself of something.
Otherwise it was just the printed out unit sheets I knocked up last minutes and filled in with pencil to allow me to change/update stats etc
I think I would struggle to solo play any bigger battles that this as it is a fair amount to keep track of
Had a great time however and all of the prep was well worth it to me.
The battle is below and will be part of a (very) random setting I have knocked up using my excel random file for gaming
So the battle - We come to the World of Siphnus part of the Therasia Theocracy.
A reasonably wealthy planet with a good range of supplies available but no Mech factories and only a minimal Garrison with Good Moral.
Population: 4 Billion
Very loyal to the ruling Theocracy
Planet Ruler: Elector Floriene Thornock
Garrison Commander: Lord Militant Oplis Dowdy
The Therasia Theocracy is undergoing a current Heretical rebellion across some of its 16 Worlds and 78 Billion people.
A Mercenary Company currently unknown is in the process of assaulting one the outer cities, units in defence are the 93rd Siphnus Guard Militia a fairly low tech unit with minimal Mech support but good combined arms.
The objective of the assault appears to be the control of the city but the capture of a local dignitary can not be ignored as a possibility.
Their Transport and escort are preparing to leave as we speak (end of game turn three)


These engineer diggers were part of a freebie from GZG as part of their birthday promotion in July, very welcome and as I had not known about the promotion it was very, very nice of them to email me after my order and ask if I wanted to leave a birthday comment to in return get some free bits added.

All of these transports etc played no active part in this battle but I felt added to the scene


The escape transport and escort await their VIP

The local Militia take up positions


The Mercenaries appear on the near side


Despite the amount of terrain there are still lines of sight across large parts of the table!


Opening gambit as the Light Cav walkers advance for the Militia


Some early long range shooting as the light cav walkers opposing each other trade some fire


A Mercenary Quickdraw P1 mech advances and utilises its Guidefire ability to call upon the Heavy Missile artillery in the back

These MRL units came in most handy with their 7 F


Turn one was a bit of a slow start really as I am so used to IGOUGO that I almost moved all of the Militia before recalling its one element each alternately, still no harm done

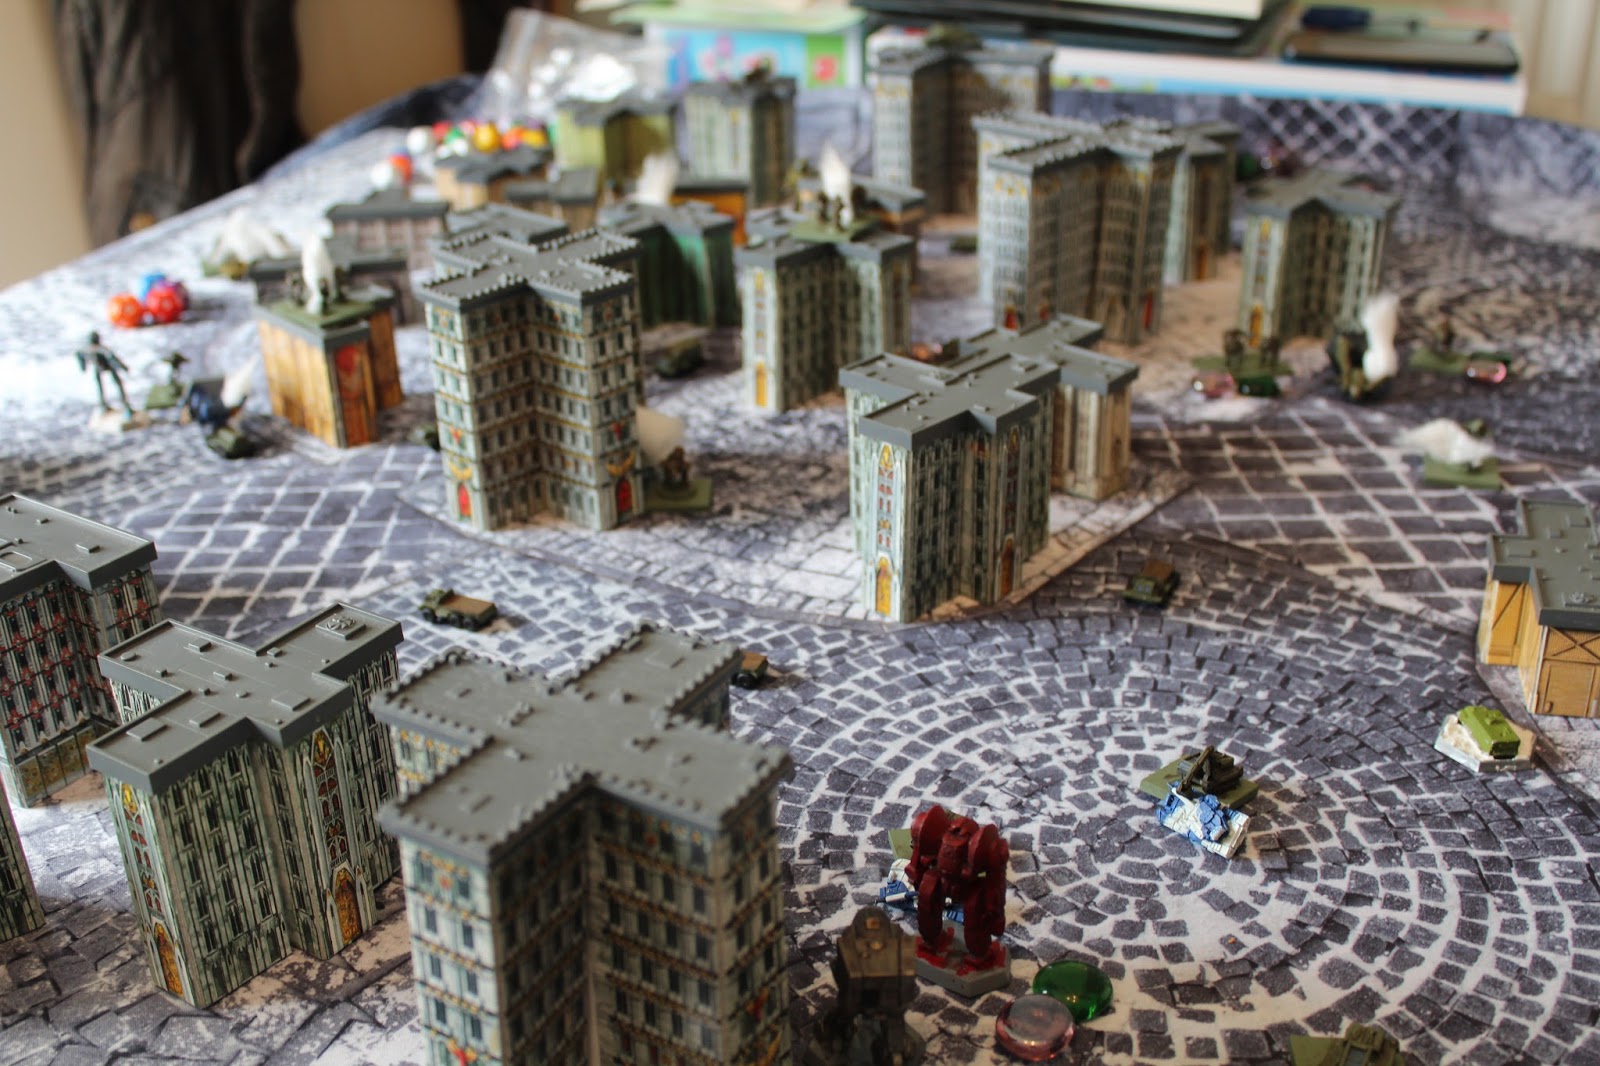
Mercenaries push forwards across the road

Yes I would say they have LOS there...


I utilised my idea for exploding 12 rather than the usual critical and it worked quite well, also then allocating all hits using 1-4 F, 5-8 M, 9 - 12 A. IF all of F was gone I would roll over to M, and then to A etc.

The Militia CHQ P2 Mech trades fire with the Merc P3 Banshee.
Oh the error! the Merc version is considerably up gunned compared to the slow Militia Banshee.
6F and Medium range ability make quick work of the Militia commander.


The outdated but still dangerous Militia Banshee appears and returns fire with its namesake

The Militia Right wing really looks to drive the Merc force back whilst holding the centre and doing only minimal on the left.

Combined Mercenary fire power begins to take its toll on the opposing Militia units but they still give a fair accounting

The Dragon and its Light Cav support take down the Militia left wing as their P1 mech crumples against the P3 firepower

Turn two saw much of the Militia try and punch through but with out success and at considerable cost
Many units are now either heavily reduced or immobile

The Militia right starts to crumble too as the light cav folds from more MRL indirect fire


Payback! the Militia take out the P3 Banshee after immobilising it
However they lose their Heavy inf unit despite the building cover and their right flank P1 mech too


The death of the heavy Cav unit spells the end for the Militia.
The P3 Awesome lives up to its name and shrugs off the minimal damage it receives in return.

The centre is not fairing better as their light cav unit is wiped out

The left flank is not down to one heavy inf and one heavy cav unit for the militia

The Central Heavy Inf are wiped out after sustained long range bombardments


The smoke shows the devastation with well over half the militia elements defeated
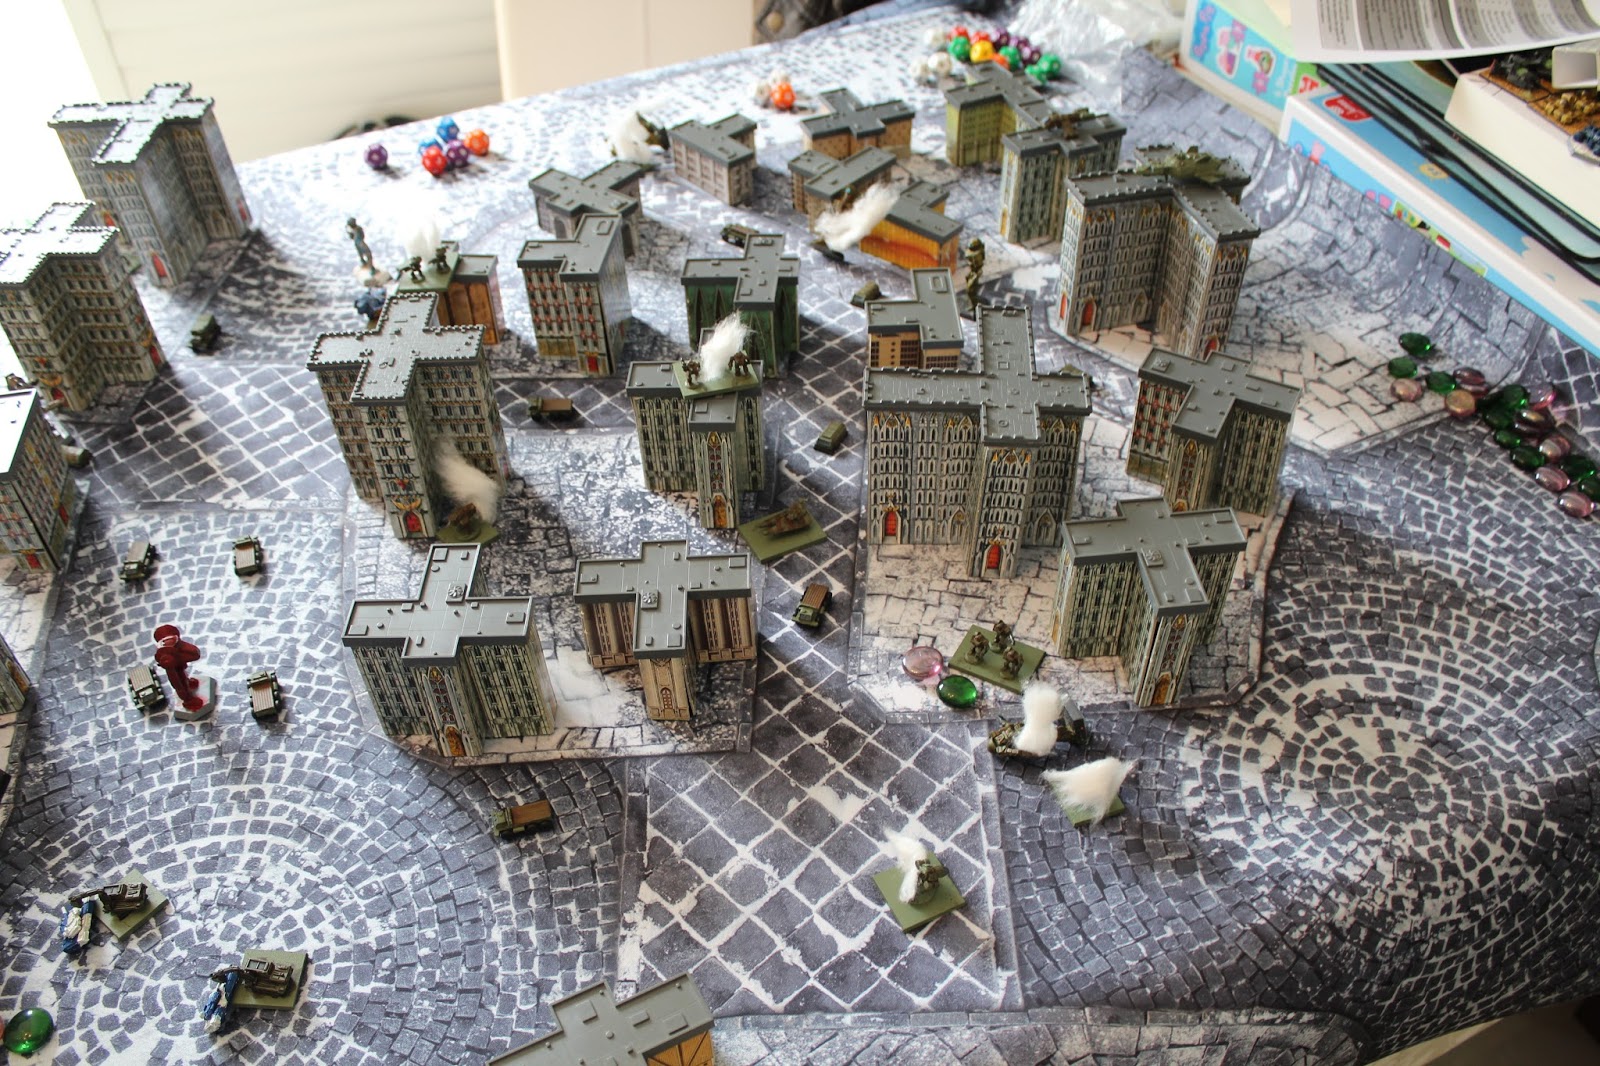

However the damage done to the Merc force means it can't press on and will be satisfied with holding the edge of the city as they look to repair and regroup,

The photos didn't quite come out as well as I wanted and I have not had time to give photoshop a play to improve them but hopefully they tell the story well enough!
I found the combination of Assisted targeting plus Extended medium range a very powerful combination for mechs especially P3 ones. (That is a good thing as it allowed me to differentiate the older Militia models from the newer Mercenaries and gave them a profound advantage at range)
The infantry was more useful than I expected especially once in buildings for that +3D bonus!
The light Cav also did better than I thought they might with both sides having three units and all getting into the mix from the start they soaked up a lot of damage before either being destroyed or having to withdraw.
I decided any unit reduced to zero F and M would be classed as lost despite remaining A.
I never actually tried the recovery roles as combat was more important!
The reactions work well although I think I need to recap just to make sure I had it right through out the game.
Overall a great rule set and one I look forward to playing more of
The forces used were:
93rd Siphnus Guard Militia
P2 Mech Cyclops CHQ - KIA
F4, M3, A2, D2, AT, Med rg, Guide fire
P3 Mech Banshee (Total 4 dam taken)
F5, M1, A4, D4, AT, Med Rg.
P1 Mech Vindicator x2 - KIA (x2)
F3, M2, A2, D2, Agile frame, Sht rg.
Heavy Inf x3 - KIA (x2)
Light Cav x3 - KIA (x3)
Hvy CAv x2 - KIA (x1), 7 dmg on other
25 presence
Mercenaries
P3 Mech Awesome
F5, M2, A3, D4, AT, Med rg
P2 Mech Stalker
F4, M2, A2, D2, AT, Med rg, Indirect fire
P3 Mech Banshee - KIA
F6, M3, A3, D3, AT, Sht rg
P1 Mech Quickdraw x2 (5 & 4 damage)
F3, M3, A2, D2, Guidefire
P3 Mech Dragon
F5, M3, A3, D3, AT, Med rg
Light Cav x3 - KIA (x1), (7 and 8 dmg on others)
Arm Artt x2
25 presence
Hope you enjoyed reading, I will probably post something else on by gaming backstory for this universe soon.
No comments:
Post a Comment